Watershed magazine, How to construct a page
In the watershed magazine, we decided to make groups of 3. In each group, we were able to choose a watershed to make a magazine about. This magazine must include facts and articles that we find/make. The pages also include artwork and pictures we take of our watershed. Our magazine has 12 pages. Here is an example of how I make a single page.
First I start off by brainstorming what my page is going to be about. This page, since our magazine is about the San Marcos Creek watershed, is about what we can do to help the watershed. After deciding what the page was going to be about, I did some research on the subject. I found the best research I could and put it on a google document. After doing the research, I looked at it and only kept the best topics. I decided what was the "best", by what I could display in pictures. It just so happened that my "How to drawing" had similar pictures to the topic I was talking about. So after doing my research, I did my "How to drawing".
How to Drawing:
To begin the how to drawing, we made sketches in our journal.
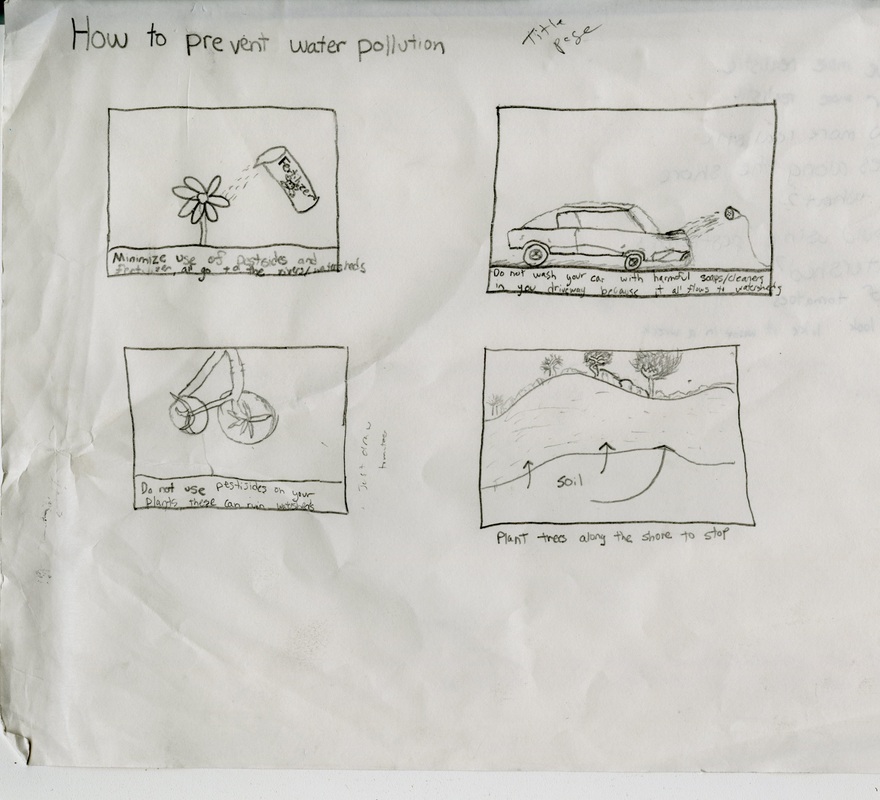
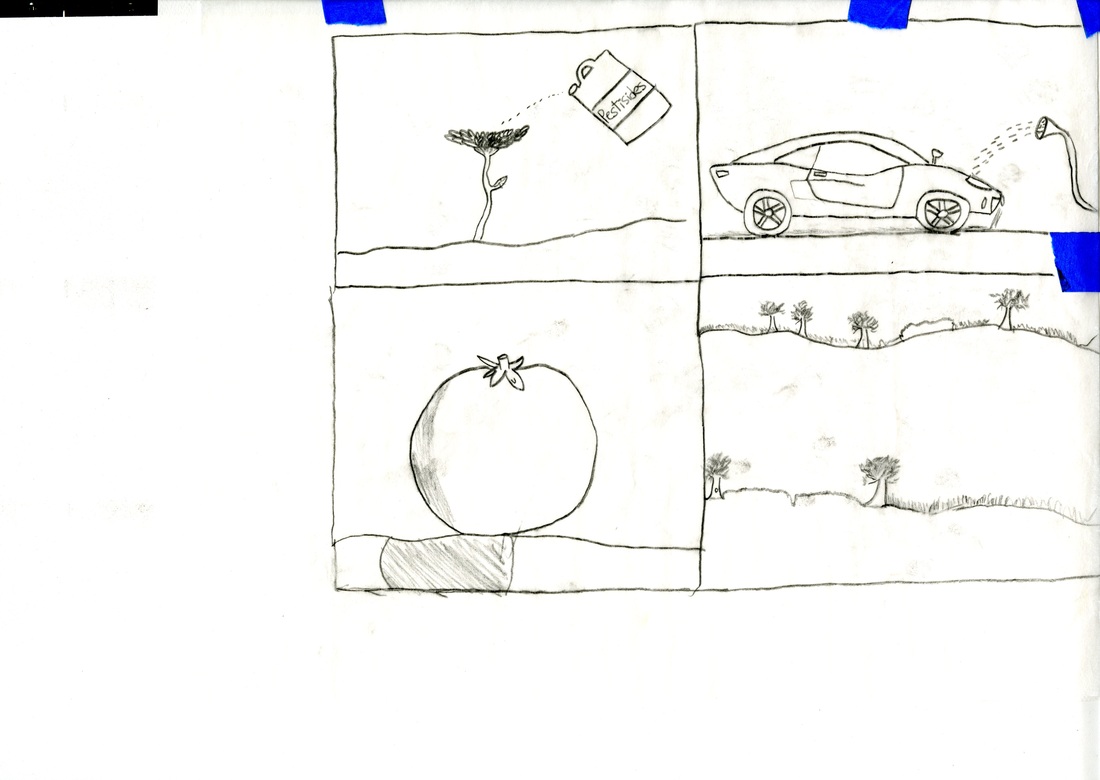
As you can see above, the first sketch of my how to's, was not very artistic. The flower looked like it was drawn by a five year old and many people could not even tell what the tomato's were. I took my critique which was:
- Make the tomato look more realistic and to the side
- Make a better car
- Improve the fertilizer container
- Improve the flower
Below is my second draft
- Make the tomato look more realistic and to the side
- Make a better car
- Improve the fertilizer container
- Improve the flower
Below is my second draft
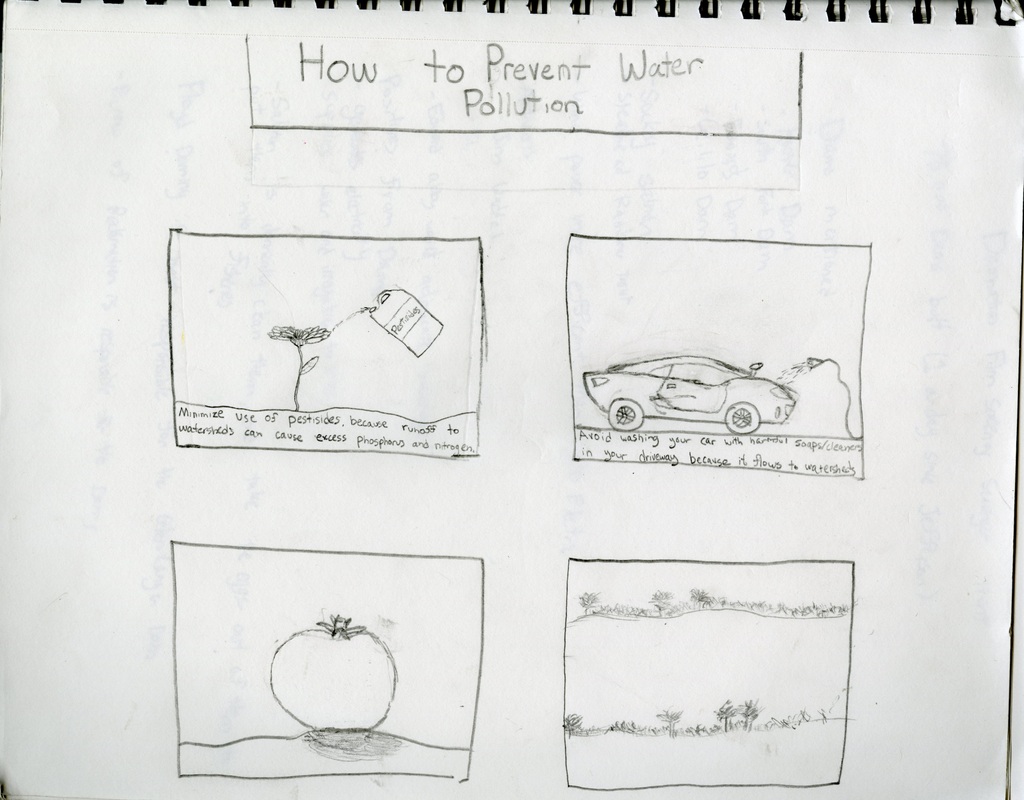
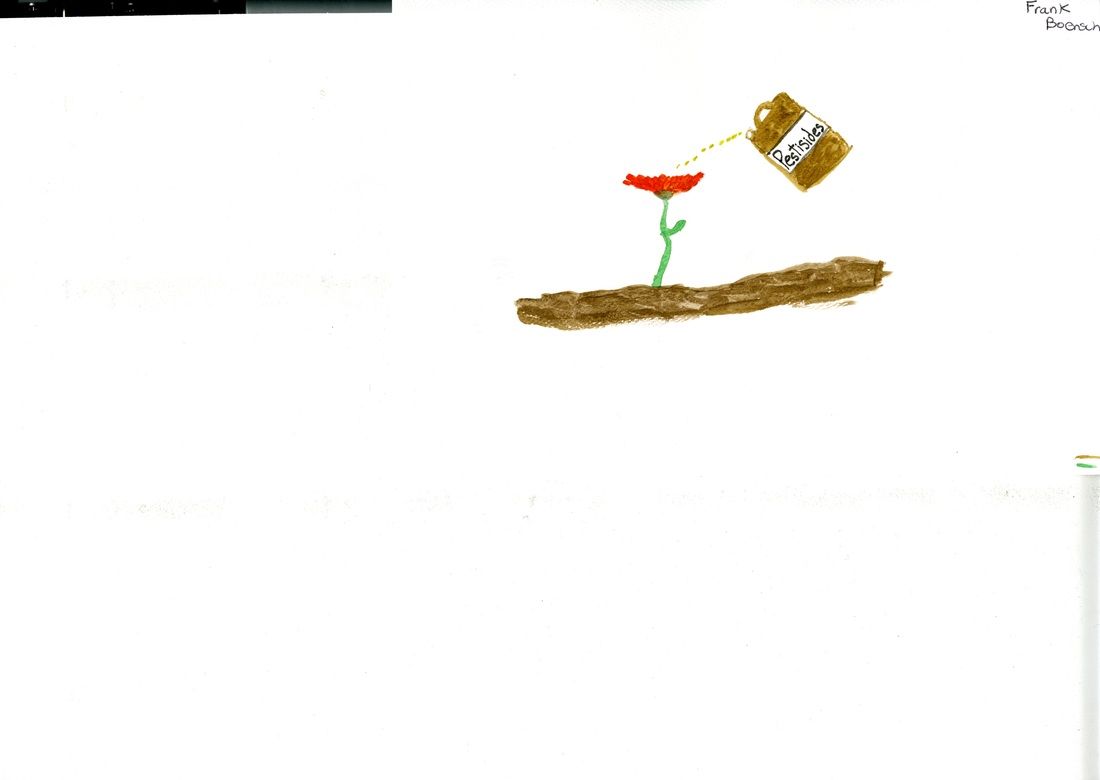
In my second draft, the flower looked much better along with the pesticides(which I changed from the fertilizer). The tomato was also more realistic along with the car. Some things I wanted to change for my next and final sketching draft were too
- Add more shadows to the tomato
- Improve the car so it had less erase marks
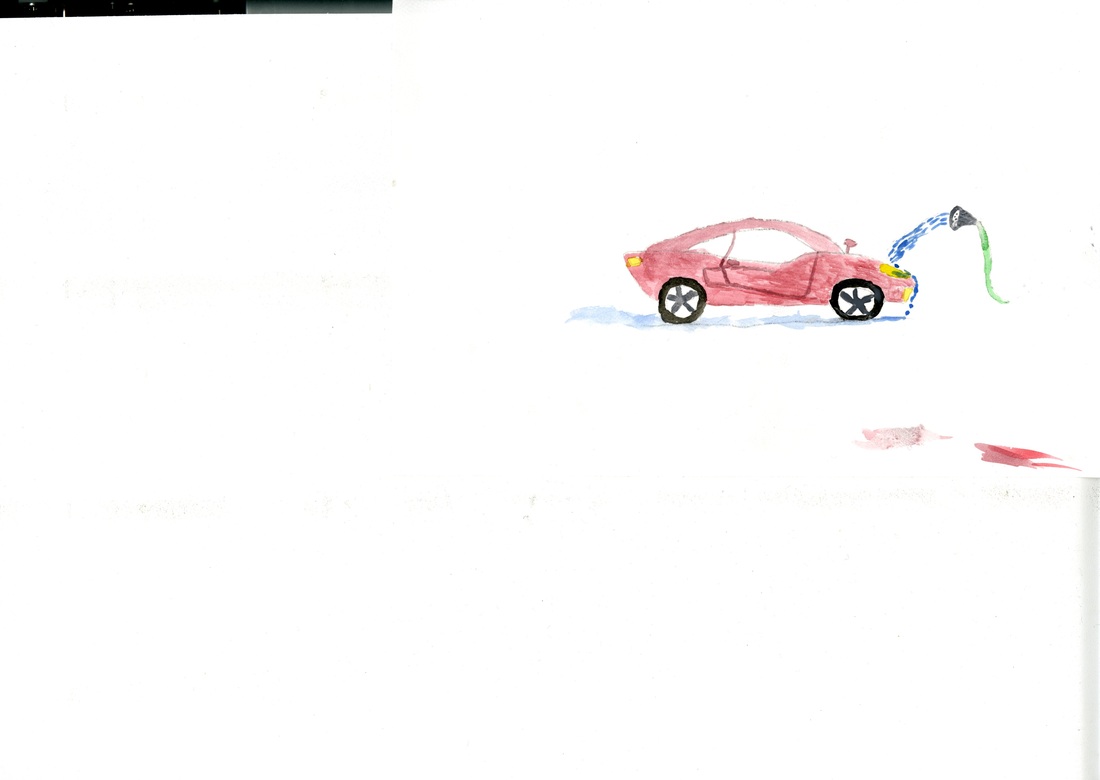
- Add water dripping down from the car
- Make shoreline of bottom left picture more realistic
The next two pictures are my 3rd sketch drafts
- Add more shadows to the tomato
- Improve the car so it had less erase marks
- Add water dripping down from the car
- Make shoreline of bottom left picture more realistic
The next two pictures are my 3rd sketch drafts
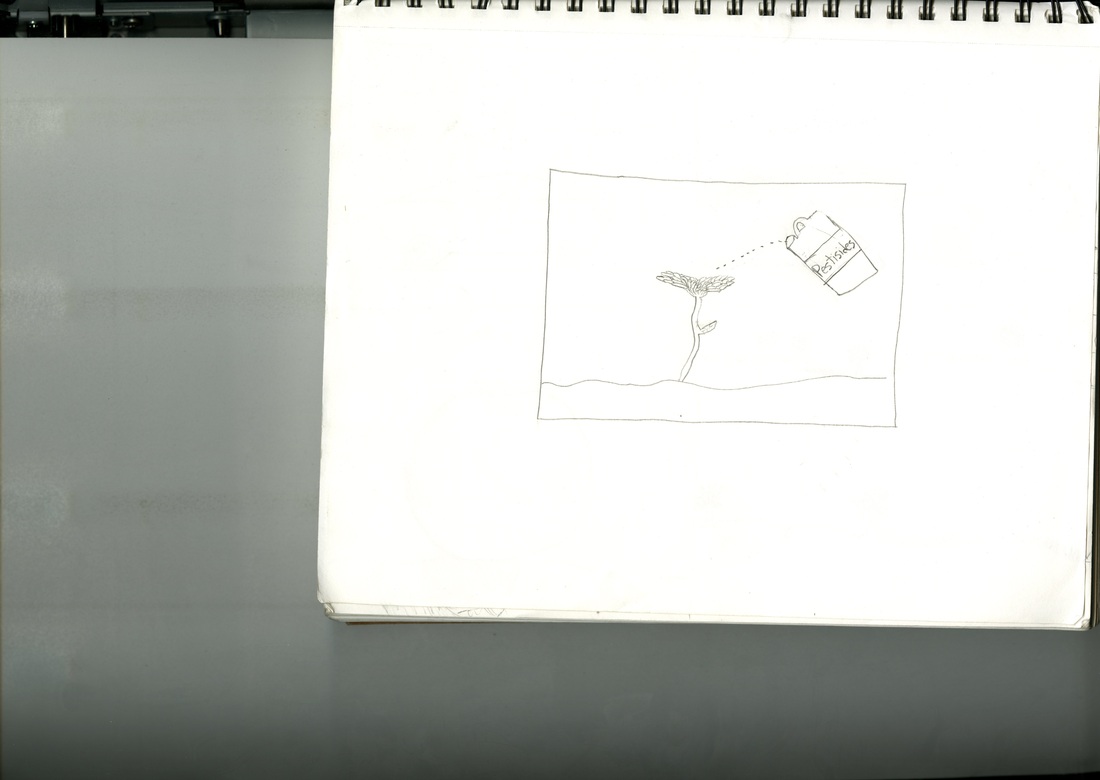
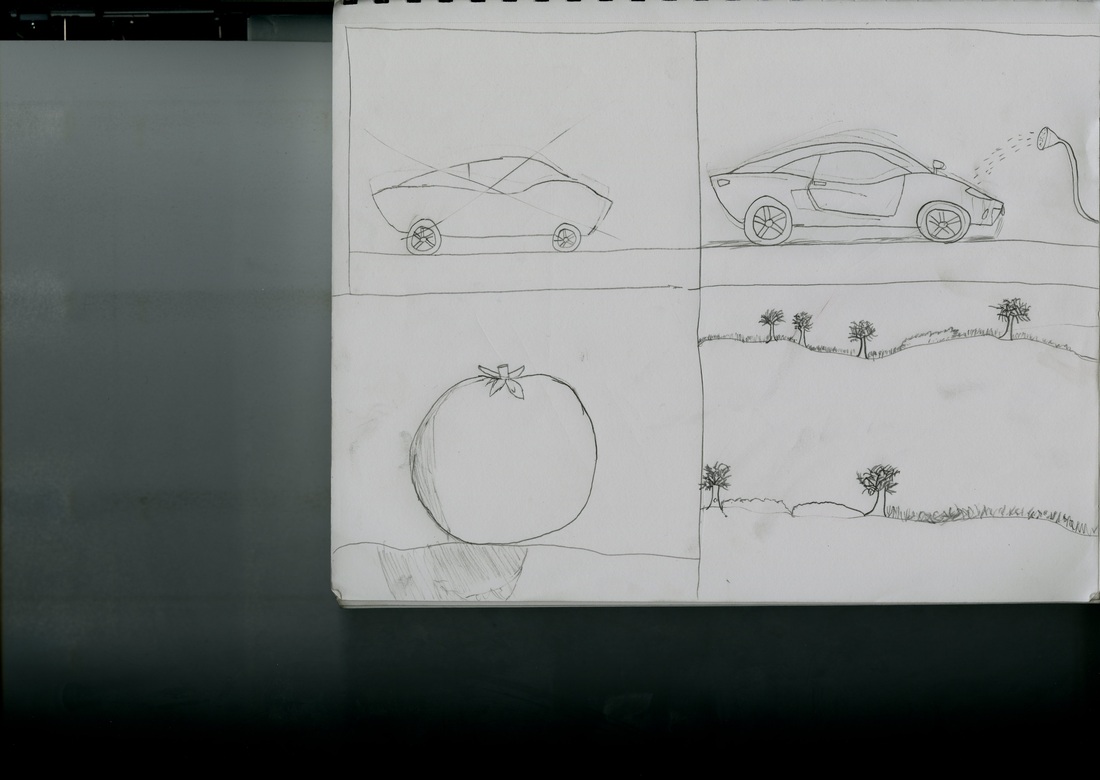
These are pictures of my final sketches (it took two more attempts with the car to get it right). The shoreline was much clearer than before and I added the water washing away from the car. Now it was time to put in on the tracing paper
After putting it on the tracing paper, we had to go through a method to make the lines show on regular watercolor paper. First you traced what you wanted onto the paper. Then you turned it around and covered the lines with graphite from a pencil. Than you turned it back to the regular side, put the tracing paper on top of the watercolor paper, and drew on it with a pen.
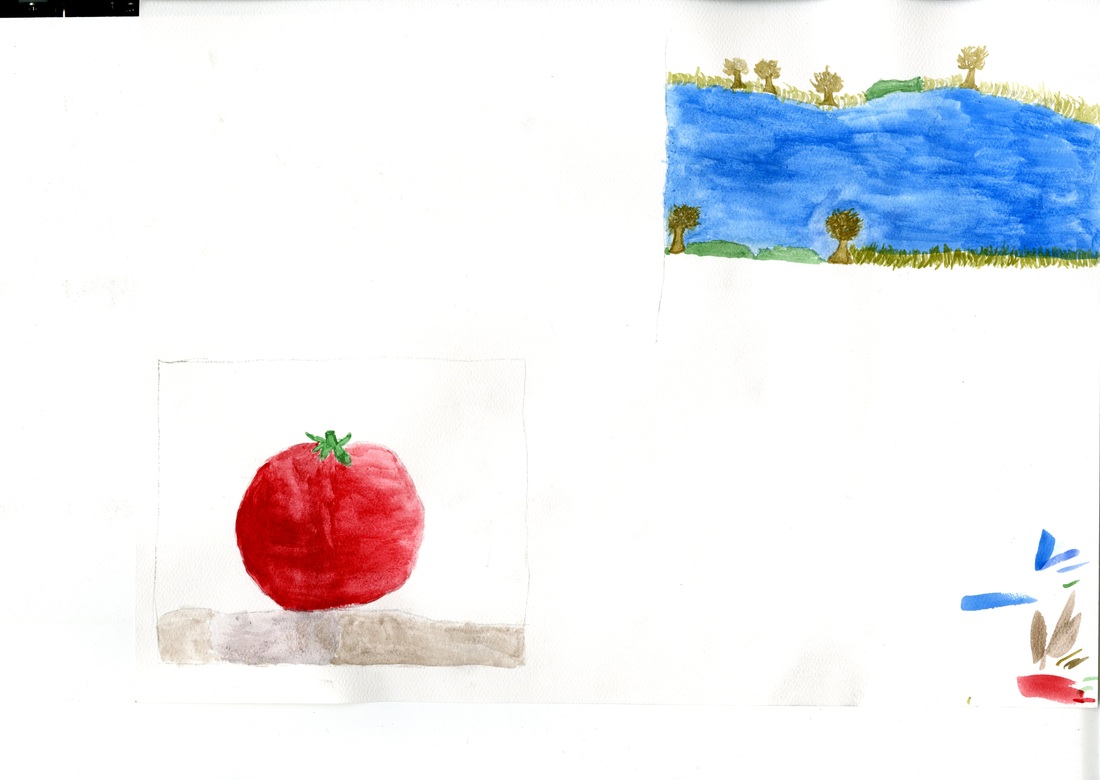
I put two of the watercolors together on a large page, and than two watercolors on two regular pages. These watercolors turned out super well
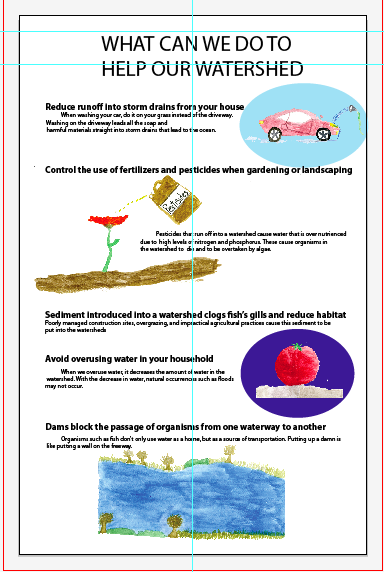
This is the completed first page of my magazine. I combined the research and the pictures into one page. In my opinion, all the drafts I did payed off because this page looks super good.
